Key Takeaways
Winged eyeliner can elevate your look and boost your confidence.
Choosing the right tools and products is essential for a flawless application.
Preparation is key; start with a clean base and the right eyeliner formula for your skin type.
Step-by-step guidance can help you draw the perfect wing, even if you’re a beginner.
With practice and patience, you can adapt the wing to your eye shape and personalize your style.
|
Step Description |
Detailed Tips |
Recommended Products |
Difficulty Level |
Duration |
|---|---|---|---|---|
|
Preparing the Eyelid |
Cleanse the eyelid, apply primer for a smoother application. |
Eyelid primer |
Easy |
2 minutes |
|
Drawing the Initial Line |
Start from the outer corner and draw towards the temple. |
Fine-tip liquid eyeliner |
Moderate |
3 minutes |
|
Creating the Wing |
Determine the angle by aligning with the lower lash line. |
Angled brush, Gel eyeliner |
Hard |
5 minutes |
|
Connecting the Wing |
Draw a line back to the eyelid, fill in any gaps. |
Liquid eyeliner |
Moderate |
4 minutes |
|
Perfecting and Cleaning Up |
Use a pointed q-tip dipped in makeup remover to sharpen and clean the edges. |
Makeup remover, Cotton swab |
Moderate |
3 minutes |
Overview of Winged Eyeliner Appeal
Winged eyeliner has stood the test of time, gracing the lids of icons from Cleopatra to today’s top celebrities. Its allure lies in its ability to define and accentuate the natural beauty of the eyes, adding a touch of drama and sophistication to any look. Whether you’re aiming for a subtle flick or a bold statement, the winged effect can be tailored to fit your style and occasion.
Primary Tools and Products for Winged Eyeliner
Before we dive into the how-to, let’s talk essentials. You’ll need:
- A high-quality eyeliner: Options include a pencil for a softer look, a gel for precision, or a liquid for a sharp, defined line.
- A steady hand: Confidence comes with practice, so don’t worry if you’re not perfect from the start.
- Clean-up tools: Cotton swabs and makeup remover are your best friends for fixing any mistakes.
Laying the Groundwork: Prepping Your Eyes
Great makeup starts with great preparation. Ensure your eyelids are clean, dry, and free from oil. If you have oily lids, a bit of primer or setting powder can work wonders in keeping your liner in place all day.
Choosing the Right Eyeliner Formula
Not all eyeliners are created equal, and the right one for you depends on your skin type and the look you’re going for. Here’s a quick rundown:
- Pencil eyeliners are great for beginners because they offer more control and are easier to correct if you make a mistake.
- Liquid eyeliners deliver a more dramatic and precise line but require a steadier hand.
- Gel eyeliners are a happy medium, offering the precision of a liquid with the smudge-ability of a pencil.
Creating a Clean Base for Your Wing
Once your eyes are prepped, it’s time to lay the foundation. If you’re using eyeshadow, apply it before your eyeliner. It’s much easier to clean up eyeshadow fallout without disturbing a perfectly drawn wing. If your hands are shaky, rest your elbow on a stable surface to steady them.
Drawing the First Line: A Step-by-Step Guide
Let’s get down to business. Starting at the inner corner of your eye, draw a thin line along your upper lash line. Keep it as close to the lashes as possible; this is not the time for a thick, bold stroke. The key is to build the line gradually—you can always add more, but it’s harder to take away.
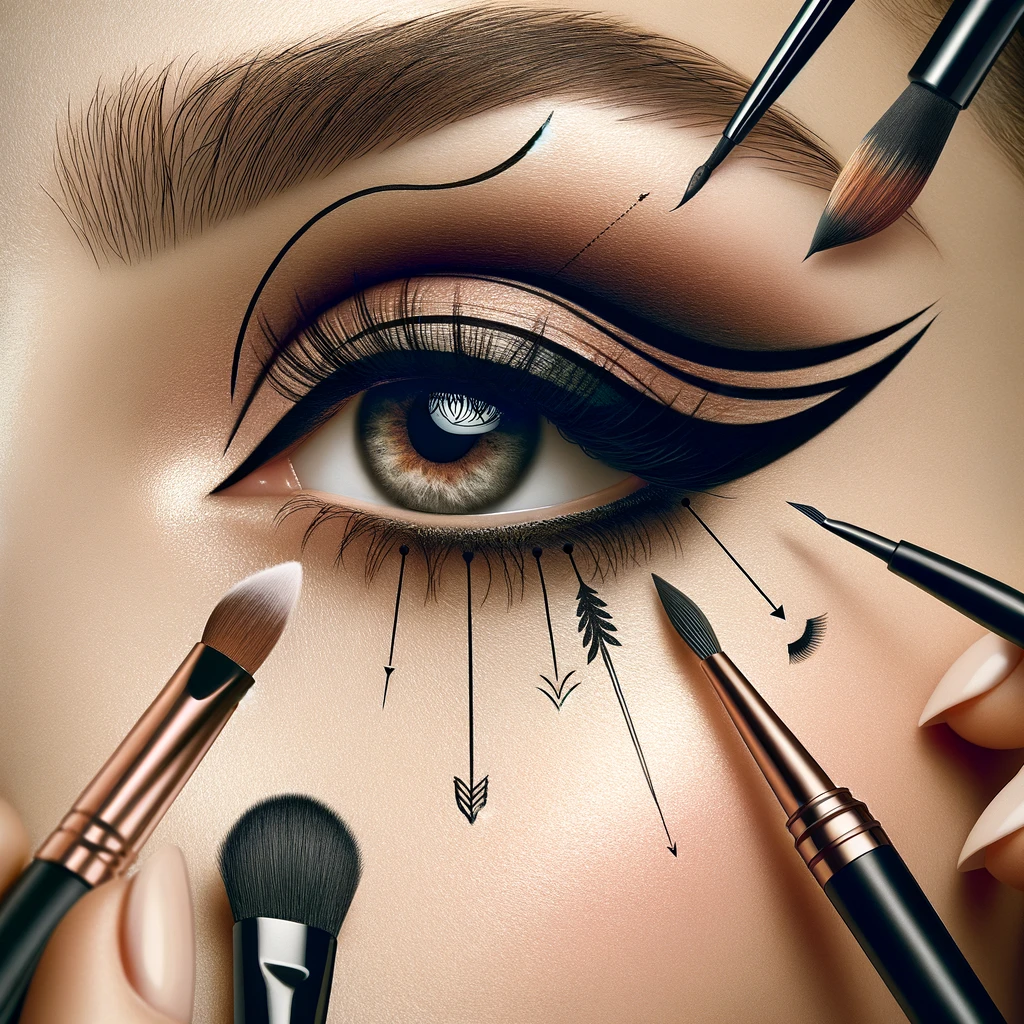
Mapping Out the Wing Tip
Now for the wing: look straight ahead and imagine an extension of your lower lash line. This is the direction your wing should follow. Using a small, precise brush or the edge of your eyeliner, make a tiny dot where you want the tip of your wing to end. This is your guide.
Connecting the Dots to Perfect Your Line
From the dot, draw a line back to your lash line, creating the top edge of your wing. Then, fill in the triangle you’ve created. If the line isn’t as smooth as you’d like, don’t fret. Take a small angled brush dipped in makeup remover to clean up and sharpen the edges.
The Finishing Touches: Refining Your Wing
Now that you’ve laid down your wing, it’s time to make it soar with some final refinements. A winged eyeliner’s hallmark is its sharpness and symmetry, which can make or break your look. Don’t worry if it’s not perfect on the first try—perfection comes with a little patience and practice.
Cleaning Up Edges for a Sharp Finish
Most importantly, even the steadiest hands may go a bit outside the lines. Here’s a pro tip: Dip a pointed cotton swab into makeup remover and gently erase any smudges or uneven edges. This will help create that crisp line that defines the best winged looks. Remember to clean up the underside of the wing to ensure it looks intentional and precise.
Correcting Common Mistakes
It’s normal to make mistakes when you’re perfecting your winged eyeliner technique. Here are a few common issues and how to fix them:
- If your wing isn’t symmetrical, use the cotton swab trick to adjust the length or angle.
- When the line is too thick, take a thin brush dipped in concealer to carefully trim the width.
- For a wing that’s too long, shorten it by carefully dragging a cotton swab along the tip.
With these fixes, your wings will look like they were drawn by a pro.
Advanced Techniques for Winged Eyeliner Mastery
Once you’re comfortable with the basics, it’s time to elevate your skills. Advanced techniques can help you adapt the wing to your unique eye shape and create different looks for various occasions.
Adapting the Wing to Your Eye Shape
Every eye shape has a winged eyeliner style that complements it best. Here are some tailored tips:
- For almond eyes, a classic wing following the natural lash line enhances your shape.
- Round eyes can benefit from a longer wing that extends beyond the outer corner to elongate the eye.
- Hooded eyes should try a ‘bat wing’ where the liner is thicker when the eye is open, creating the illusion of a crease.
Understanding your eye shape is the secret to a wing that enhances your natural beauty.
Creating Different Winged Looks
For a subtle daytime look, keep your wing short and close to the lash line. But when the sun sets and you’re ready for drama, extend that wing and play with thickness for a bolder statement.
Remember, your winged eyeliner can be as versatile as your wardrobe, changing to match your mood and the occasion.
Personalized Approaches: Making the Look Your Own
Winged eyeliner isn’t just a classic beauty technique; it’s a canvas for personal expression. Once you’ve mastered the basic wing, it’s time to add your own flair.
Accessorizing with Color and Texture
Why stick to black when there’s a whole spectrum of colors to explore? Try a navy or forest green for a subtle twist, or go bold with electric blue or fiery red. Don’t forget about texture—matte, glossy, and even glitter finishes can add a whole new dimension to your look.
Besides that, the world of makeup is ever-evolving, so feel free to experiment with trends like graphic liner or negative space wings. The sky’s the limit!
Transitioning the Wing from Day to Night
Your daytime wing can easily transform into a night-time showstopper. Simply thicken the line and extend the wing for added drama. Add some shimmery eyeshadow or a pop of highlighter in the inner corners to brighten and open up the eyes.
Practice Makes Perfect: Developing Your Skills
As with any skill, the more you practice, the better you’ll get. So don’t be discouraged if your first few attempts aren’t perfect. Keep trying, and you’ll find that your hand becomes steadier and your lines more confident.
Remember, the mirror you use can make a big difference. A magnifying mirror can help with precision, but always check your work in a regular mirror too, to see the overall effect.
Consistency is key, so make winged eyeliner a part of your regular beauty routine. Over time, you’ll develop a muscle memory, and those wings will practically draw themselves!
Frequently Asked Questions
- How do I find the right angle for my winged eyeliner?
- What should I do if my eyeliner smudges?
- Can I do winged eyeliner on hooded eyes?
- How can I make my winged eyeliner last longer?
- What’s the best way to remove winged eyeliner?
How do I find the right angle for my winged eyeliner?
The right angle for your winged eyeliner is crucial for achieving that sleek, upward flick that defines the look. To find it, envision a line that extends from the outer corner of your eye towards the end of your eyebrow. This imaginary line is where the edge of your wing should aim. If you’re still unsure, a little piece of tape placed at this angle can guide your hand as you draw.
|
Eyeliner Product |
Price Range |
Waterproof |
Smudge-proof |
Finish |
|---|---|---|---|---|
|
Liquid Eyeliner |
$8 – $20 |
Yes |
Yes |
Matte, Glossy |
|
Gel Eyeliner |
$10 – $25 |
Yes |
Yes |
Matte, Satin |
|
Pencil Eyeliner |
$5 – $15 |
No |
No |
Matte, Shimmer |
What should I do if my eyeliner smudges?
If your eyeliner smudges, don’t panic. A pointed cotton swab dipped in a bit of makeup remover can clean up the smudge without disturbing the rest of your makeup. To prevent future smudging, consider setting your eyeliner with a matching eyeshadow, choosing a smudge-proof formula, and avoiding heavy creams around the eyes.
Can I do winged eyeliner on hooded eyes?
Definitely! Hooded eyes can rock a winged eyeliner like any other eye shape. The trick is to draw the wing with your eyes open, so you can see exactly where the lines will sit. Instead of following the curve of the eye, you may need to draw the wing out and slightly up, creating the illusion of a lifted eye.
Another tip is to keep the line thin on the inner part of the lid and thicker as you move outwards. This helps prevent the eyeliner from disappearing into the fold of the lid and keeps the wing visible.
How can I make my winged eyeliner last longer?
To ensure your winged eyeliner stays put from day to night, start with an eyeshadow primer to create a smooth, long-lasting base. Opt for waterproof or gel eyeliners that are designed to resist smudging and fading. Once your wing is in place, you can also dust a bit of translucent powder over it to set the look.
What’s the best way to remove winged eyeliner?
After a long day of looking fabulous, you’ll want to remove your winged eyeliner gently but thoroughly. A dedicated eye makeup remover, particularly one formulated for waterproof makeup, will dissolve the liner without harsh rubbing. Saturate a cotton pad, press it gently on your lid for a few seconds, then wipe away the eyeliner. Rinse with warm water, and you’re good to go!